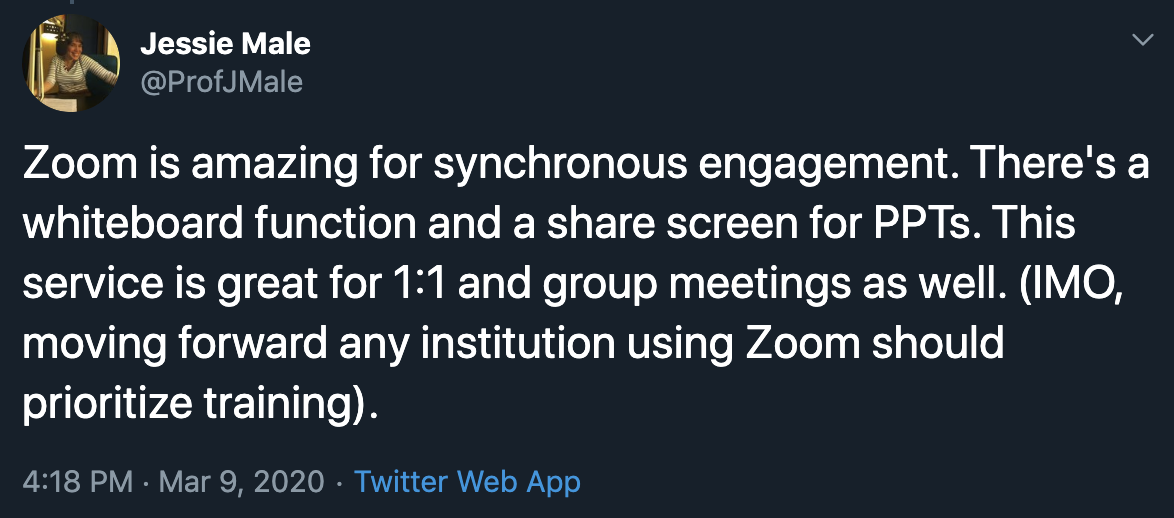
Zoom allows for interaction among instructors and students
- Have participants mute if they aren't talking to reduce background noise
- If there are bandwidth issues, participants can turn off their video too
- How to keep track of questions? Make sure that everyone opens the "chat" box and if someone has a question or wants to say something, just type in "hand" and the presenter knows who to call on and in what order without those awkward moments of talking over each other
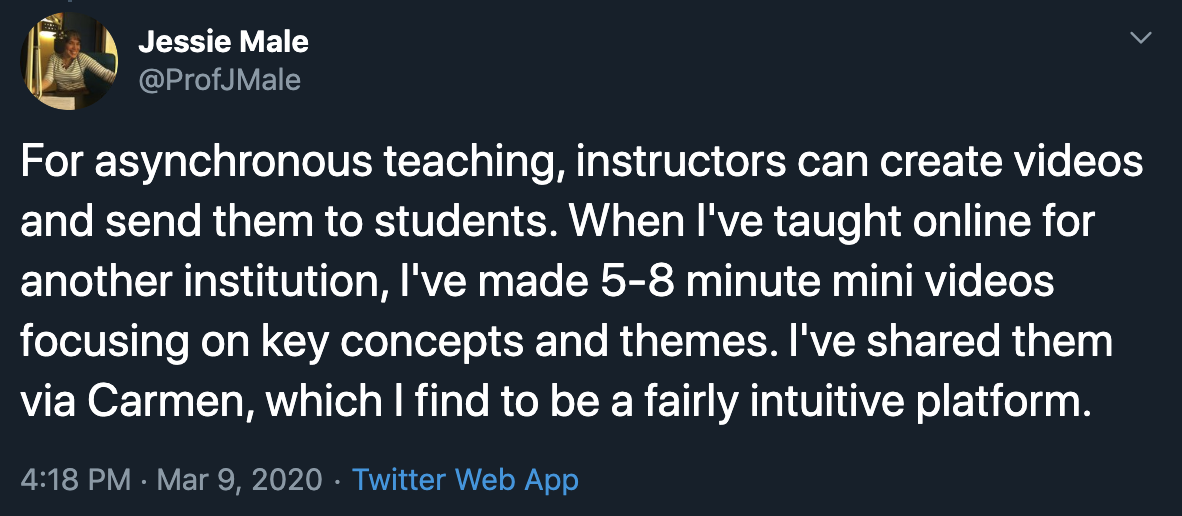
- Make sure to record, students may not be able to attend at the same time or may want to review the lecture later
|
|
Ideas from Alana Kennedy (@alanakennedy808)
- Be prepared: This sounds obvious but as an instructor, be sure to explore the features of Zoom to become as familiar as possible with the platform prior to your scheduled class.
- Breakout rooms: Helpful feature which allows you to split the class into pairs or small groups. I used this feature EVERY class to break up the monotony of a full class discussion. I then popped into different breakout rooms to answer questions and listen to the conversation.
- Before splitting the class into breakout rooms, make sure students are 1) clear on the task and 2) aware of the time allocated. You can also send class announcements (e.g., Bringing you back in two minutes; Move on to _____ if you haven't already done so).
- Chat feature: Similar to an in-person class, not all students may feel comfortable speaking out to the entire group. Be mindful that students may be using chat to contribute to the class. Also note that students can ONLY see the chats that get posted once they enter the room.
- Gallery View vs. Active Speaker: Each person can choose how they want to "see" everyone else in the space. As an instructor, I preferred "Gallery View" so I could see all students at once (this might be tough for larger classes).
- Polling: I used this feature on occasion to survey students -- however, Google forms offered more flexibility and I would pre-create my survey and then paste the link in the chat box once everyone arrived.
- Screen Sharing: Although you can share slides, handouts, or websites in a synchronous format, I DID NOT use this feature because students preferred to see each other's faces. Instead, I posted these as links in the chat (also sent via email and posted in the course LMS).
- Organization: Depending on the class, there can be a lot of documents to keep track of. To avoid having an excessive number of windows open at once, I created a Google doc that included a list of links for each class. This allowed me to easily copy and paste a link in the chat.
- Schedule meetings: Depending on your account, Zoom allows you to schedule meetings ahead of time. If possible, DO THIS. Zoom must be installed in advance -- this gives students a chance to test their audio and camera before their scheduled class.
- Record the class: In anticipation of technical difficulties or absences, record the class so students have this for future reference. An audio transcript accompanies each of these recordings which is a great resource and supports accessibility.
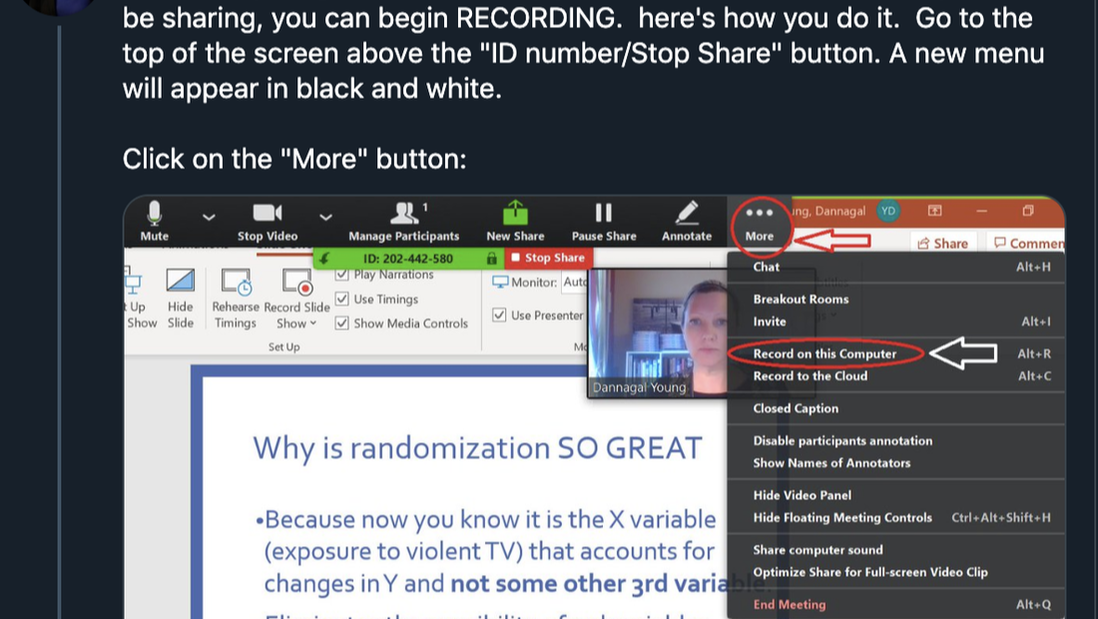
Pictures from a great thread by Dr. Danna Young on using Zoom to record a class meeting. The recording can then be put on Youtube and/or embedded in your class LMS site, or just emailed to students
|

|
Resources
- Katie Palacios has a 5 minute video on getting started with Zoom
- Michelle Pecansky-Brock has a 4 minute video on how to hold a whiteboard lecture with Zoom, an iPad, and a digital pencil tool
- Use a break out room! Katie Skapin has a video explaining how to use break out rooms, placing students in separate virtual "rooms" for group collaboration and break out sessions
- This resource from CSUCI on using Zoom for teaching includes information on all the basics and this is also a nice basic summary from them
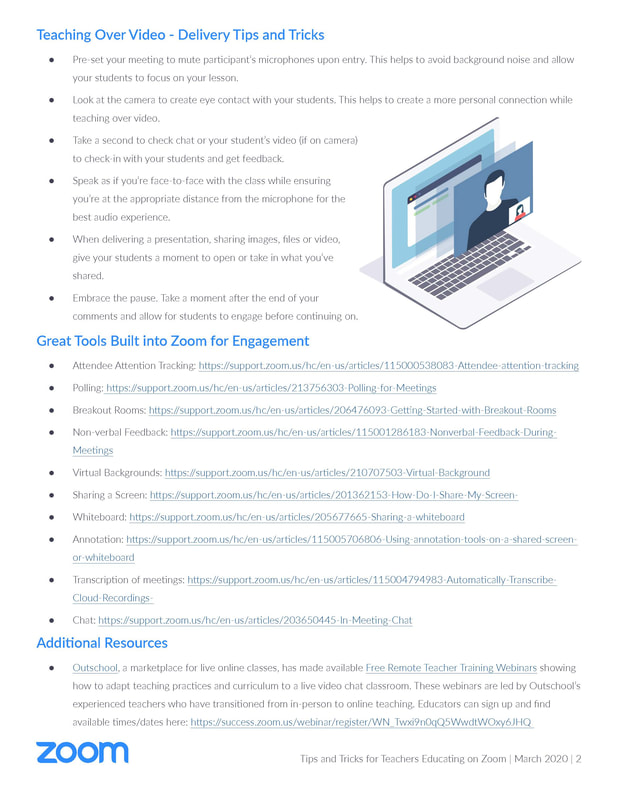
- Zoom has videos to show you how to use its features and a guide to educating via Zoom
- Managing break out rooms? Here's a video to make it easier.

|
|